 Waluigi
 Waluigi
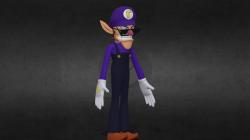 Waluigi
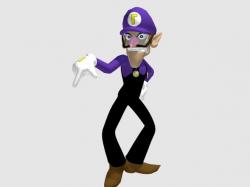 Waluigi
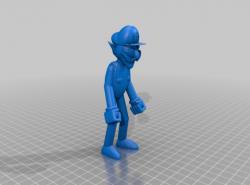 Waluigi
Exploring Waluigi 3D Models
Waluigi, a popular character from the Mario series, has a distinct look that makes him a great subject for 3D modeling and printing. There are various 3D models available online that capture his unique characteristics. These models range from simple logos to complex figurines depicting him in various poses. Websites like Yeggi, Thingiverse, Cults3D, Mito3D, and CGTrader offer a plethora of Waluigi-themed 3D models. You can find everything from the Waluigi hat logo to more complex models like Waluigi in multiple poses or even mashups with other characters like Kirby.
Printing Your Waluigi Model
When it comes to 3D printing these models, the process involves a few steps:
- Choosing the Right Model: Depending on your skill level and the capabilities of your 3D printer, you’ll want to select a model that suits your needs. For beginners, simpler models like logos or basic figures might be more appropriate.
- Preparing the Model: Use 3D printing software to slice the model, which converts it into layers and generates a G-code file for printing.
- Material Selection: Materials like PLA or ABS are commonly used for 3D printing these models. PLA is easier to work with and is a good choice for beginners.
- Printing Parameters: Set the correct printing parameters such as layer height, infill, and support structures. For detailed models, a lower layer height is preferable for a smoother finish.
- Post-Processing: After printing, you may need to remove support structures and sand the model for a smooth finish. Painting can also be done to add colors to your model.
Frequently Asked Questions
Q: What 3D printer should I use for printing Waluigi models?
A: Any consumer-grade FDM or resin 3D printer can be used, depending on the model’s complexity and the level of detail required.
Q: Can I sell 3D printed Waluigi models?
A: This depends on the copyright status of the model and the terms of use specified by the model’s creator. Always check for licensing information before selling 3D printed models.
Q: How long does it take to print a Waluigi model?
A: Printing time varies based on the model’s size and complexity, as well as the printer’s settings. Smaller, simpler models might take a few hours, while larger, more detailed ones can take much longer.
Q: What software do I need to prepare the model for printing?
A: Slicing software like Cura or Simplify3D is used to prepare your 3D model for printing.