 Cherry MX KeyCaps
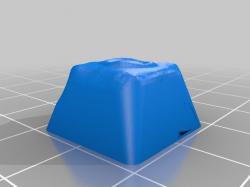 Cherry MX Keycaps
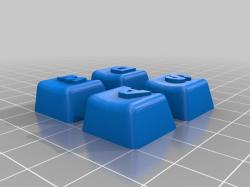 Cherry mx wasd keycaps
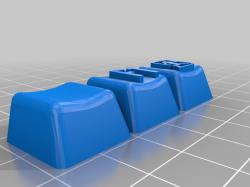 Custom Cherry MX Keycaps
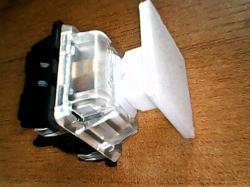 Cherry MX Keycaps
  Cherry mx Multimedia Keycaps
Understanding Cherry MX Keycaps
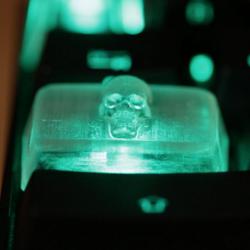
Before diving into the world of 3D printing these keycaps, it’s essential to understand what makes Cherry MX keycaps unique. Cherry MX switches are popular in mechanical keyboards due to their quality and range of tactile experiences. Keycaps designed for these switches need to accommodate the specific cross-shaped stem of the Cherry MX.
Finding 3D Models for Cherry MX Keycaps
The internet is a treasure trove of 3D models for Cherry MX keycaps. Websites like Thingiverse and STLFinder offer a vast range of designs, from simple replacement keycaps to creative and intricate designs like Ironman heads, low-profile keycaps, and even keycap necklaces. These platforms provide downloadable files, often in STL format, which is the standard file format for 3D printing.
3D Printing Cherry MX Keycaps
When it comes to 3D printing Cherry MX keycaps, there are a few considerations to keep in mind:
- Material Selection: Keycaps are generally printed in plastics like ABS or PLA. ABS is known for its durability and higher temperature resistance, while PLA is easier to print with and comes in a variety of colors.
- Printer Settings: Achieving a smooth top surface is crucial for a comfortable typing experience. Models optimized for 3D printing can be found on platforms like Printables, which ensures a smooth top surface without the need for extensive sanding.
- Detailing and Post-Processing: Some designs might require additional detailing or post-processing after printing. This can include painting, sanding, or even adding textures for a unique feel.
- Fitting and Compatibility: Ensuring the keycap fits snugly onto the Cherry MX stem is vital. The keycap should have a tight enough fit to avoid wobbling but not so tight that it’s difficult to remove.
Designing Your Own Cherry MX Keycaps
For those looking to design their own keycaps, understanding the basic dimensions and stem design is essential. CAD models and detailed dimensions can be found on platforms like GitHub and CGTrader, providing a great starting point for designing custom keycaps.
Q&A on Cherry MX Keycaps 3D Printing
Q: Can I print Cherry MX keycaps on any 3D printer? A: Yes, most 3D printers capable of printing with PLA or ABS can print Cherry MX keycaps. However, the quality will depend on the printer’s resolution and settings.
Q: Do I need special software to design custom keycaps? A: Designing custom keycaps requires 3D modeling software. Free options like Blender or Tinkercad are great for beginners, while more advanced users might prefer software like SolidWorks or Fusion 360.
Q: How long does it take to print a keycap? A: The printing time can vary based on the printer and settings but typically ranges from 20 minutes to an hour for a single keycap.
In conclusion, 3D printing Cherry MX keycaps opens up a world of customization for keyboard enthusiasts. Whether you’re downloading models or creating your own, the key is to experiment, learn, and most importantly, have fun in the process. Remember, the journey of creating something unique for your keyboard can be as enjoyable as the end product itself.