 BMO Switch
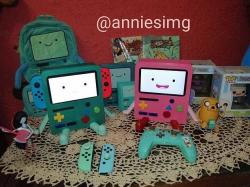 BMO NINTENDO SWITCH STAND 3D model
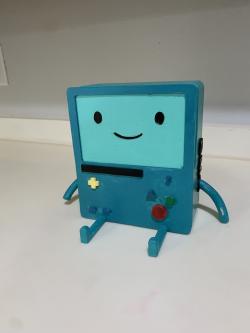 BMO *Functional* Switch Dock
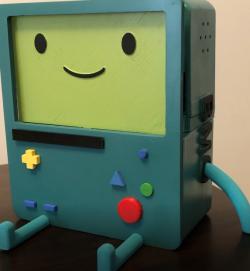 BMO Switch Dock
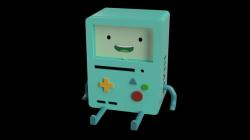 BMO Nintendo Switch Stand
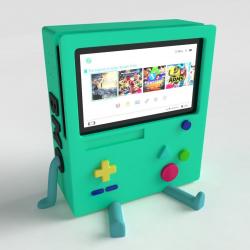 BMO Stand for Nintendo Switch 3D print model
BMO Switch Holder 3D Models: A Guide to 3D Printing Your Own
3D Printing and Assembly
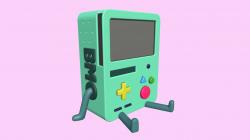
The world of 3D printing brings a unique blend of creativity and technology, allowing fans and hobbyists to bring their favorite characters and gadgets to life. One such popular creation is the BMO switch holder, inspired by the beloved character from the “Adventure Time” series. These holders are designed to house and display the Nintendo Switch, adding a fun and personalized touch to your gaming setup.
For the BMO switch holder, the process typically involves downloading 3D print files, usually in STL format. Once you have these files, the printing process can begin. The complexity of the model can vary, but a standard BMO stand for the Nintendo Switch, for instance, might require about 12 hours and 54 minutes of print time, with specific settings like a 0.25 layer height, 10% infill, and the use of supports.
Choosing the Right Model
There are various models available online, each offering different features and levels of detail. Some models are designed specifically for non-OLED Nintendo Switch models, ensuring a perfect fit. It’s crucial to select a model that is compatible with your version of the Switch. These models often come in several parts that need to be printed and then assembled, possibly requiring glue for a more secure fit. The size and number of parts can vary, so it’s important to check these details before you start printing.
Customization and Finishing
One of the joys of 3D printing is the ability to customize your creation. After printing, you can paint or decorate the BMO model to match the character’s iconic look or to suit your personal taste. Some creators might even add additional features or modify the design to better suit their needs.
Q&A on BMO Switch Holder 3D Models
Q: What are the typical print settings for a BMO switch holder? A: For a detailed BMO stand, you might use a layer height of 0.25, an infill of 10%, and support structures during printing. These settings ensure a balance between print quality and structural integrity.
Q: How long does it take to print a BMO switch holder? A: The printing time can vary based on the model’s complexity and your printer’s settings. A typical BMO stand for the Nintendo Switch could take around 12 hours and 54 minutes to print.
Q: Do I need to assemble the printed parts? A: Yes, most BMO switch holder models come in several parts that need to be assembled after printing. This might require glue or other adhesives.
Q: Can I customize the BMO switch holder after printing? A: Absolutely! You can paint or add decorations to your BMO switch holder to personalize it further.
Tips for 3D Printing BMO Switch Holders
- Preparation is Key: Before starting your print, ensure your 3D printer is calibrated and the bed is leveled. This will help in achieving the best print quality.
- Material Matters: PLA is a popular choice for printing models like the BMO switch holder. It’s easy to work with and provides a good balance of strength and detail.
- Post-Processing: After printing, you might need to sand or trim the parts for a smoother finish. This step is crucial for a professional-looking final product.
- Patience Pays Off: 3D printing is a slow process, and rushing it can lead to poor-quality prints. Be patient and monitor your print for any issues that might arise.
Engaging with the 3D printing community through platforms like Thingiverse or STLFinder can also provide valuable insights and tips, making your 3D printing journey more enjoyable and successful. Remember, the key is to experiment, learn, and most importantly, have fun with your creations!