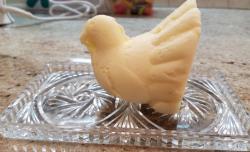
 Turkey-Butter mold
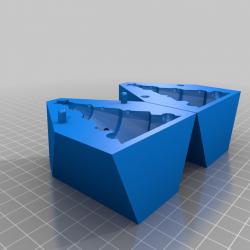 Christmas tree Butter Mold
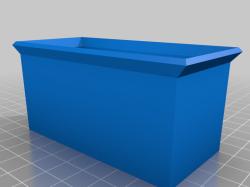 Butter Bar Mold
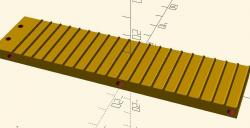 20 TSP Butter Mold
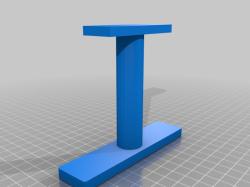 Butter Bar Mold/Press
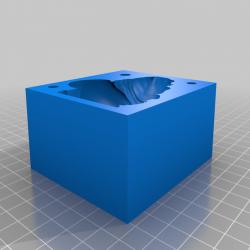 Santa Butter Mold
Finding and Preparing 3D Models
The first step in creating a turkey butter mold is to find a suitable 3D model. Websites like Thingiverse and STLFinder are treasure troves of 3D models, including various designs for turkey butter molds. Once you’ve selected a model that fits your needs, you may need to adjust it using 3D modeling software to suit the size of your butter block or to add personalized details.
3D Printing Tips
When it comes to 3D printing the mold, several factors need consideration. First, choose a food-safe filament like PLA, which is widely regarded as safe for contact with food items. Temperature settings and print speed can significantly affect the final product’s quality, so it’s crucial to follow recommended settings for your specific filament.
To prevent the mold from sticking to the butter, consider smoothing the interior surfaces of the mold. This can be achieved through post-processing techniques such as sanding or using a coating like food-safe silicone. Ensuring the mold’s interior is as smooth as possible will not only make demolding easier but also improve the final butter sculpture’s detail and finish.
Molding Butter
Softening the butter is key to a successful molding process. Butter should be left at room temperature until it’s soft enough to be easily manipulated but not melting. Once softened, the butter can be pressed into the mold, ensuring it reaches all the nooks and crannies to capture every detail of the design. If the mold comes in two halves, fill each side before pressing them together, securing with clips to prevent the butter from seeping out at the seams.
Frequently Asked Questions
Q: What type of butter works best for molding?
A: Unsalted, high-fat content butter tends to hold shapes better and offers a smoother finish.
Q: Can I reuse my 3D printed butter mold?
A: Yes, if cleaned and stored properly, 3D printed molds can be reused multiple times.
Q: How long should I chill the butter in the mold?
A: Chilling the butter for at least a few hours or overnight in the refrigerator is recommended to ensure it sets properly and holds its shape when demolded.
Q: How do I prevent the butter from sticking to the mold?
A: Coating the mold with a thin layer of cooking oil or using a non-stick spray can help prevent sticking. Lining the mold with plastic wrap is another effective method, as suggested by a Thingiverse user’s experience with turkey butter molds.
Q: How do I get the best detail from my butter mold?
A: Ensure your butter is at the optimal softness for molding, press it firmly into the mold to capture all details, and consider chilling the filled mold briefly before final assembly to firm up the details.
Engaging with 3D printed turkey butter molds is not just about creating a festive butter sculpture; it’s about blending tradition with technology to add a personal touch to your holiday feast. Whether you’re a seasoned 3D printing enthusiast or a novice looking to start a new tradition, the process is accessible and rewarding, with delicious results.