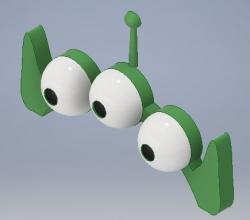
 Toy Story Alien Headband
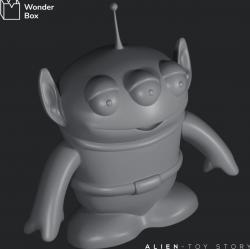 Alien - Toy Story 3D Print
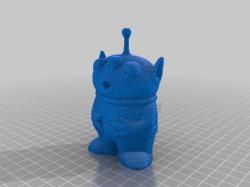 (3D Slash) Toy_Story_Alien
 (3D Slash) Toy_Story_Alien
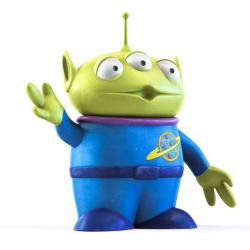 Toy Story Alien Low-poly 3D model
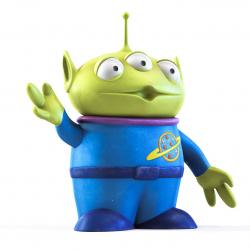 Toy Story Alien Low-poly 3D model
Understanding 3D Models
Before delving into printing, it’s crucial to understand the models available. Websites like Thingiverse and Cults offer a range of downloadable 3D models related to Toy Story, including alien headbands, Loungefly backpack hangers, and various other character-inspired designs. These platforms provide both free and for-sale models, catering to different design preferences and printing capabilities.
Tips for 3D Printing Toy Story Alien Headbands
When 3D printing a Toy Story alien headband, consider the following tips:
- Material Selection: Choose a flexible material like TPU if you want the headband to be wearable and comfortable. For decorative pieces, PLA or ABS can be suitable.
- Scaling: Ensure the model is scaled correctly to fit the wearer’s head. Most models are adjustable, but it’s always good to double-check dimensions before printing.
- Printing Settings: Use a higher resolution for detailed parts like the alien’s face. For larger, less detailed sections, a lower resolution can speed up the printing process without compromising the overall quality.
- Post-Processing: After printing, you might need to do some sanding or painting, especially if you’re aiming for a more polished or colorful finish.
- Assembly: Some models may require assembly post-printing. Always follow the instructions provided with the model for the best results.
Frequently Asked Questions
Q: What type of printer do I need for a Toy Story alien headband?
A: Most consumer-grade 3D printers are capable of printing these models. Ensure your printer’s build volume can accommodate the size of the headband.
Q: Can I modify the design of my alien headband?
A: Yes, many 3D modeling software programs allow you to customize or modify designs. However, ensure that any modifications still allow the model to be 3D printable.
Q: How long does it take to print a Toy Story alien headband?
A: The printing time varies depending on the size of the headband, the resolution of your printer, and the complexity of the model. It could range from a few hours to over a day.
Q: Is it necessary to use supports when printing?
A: This depends on the specific model and your printer’s capabilities. Some models might require supports for overhanging parts, while others are designed to be printed without them.
Q: How do I ensure the headband fits comfortably?
A: Measure the head circumference of the intended wearer and adjust the scale of the 3D model accordingly before printing.
In conclusion, 3D printing a Toy Story alien headband can be a fun project that combines creativity with technical skill. By choosing the right model, adjusting your printer settings appropriately, and applying some post-processing, you can create a unique and enjoyable piece that brings a bit of Pixar magic into the real world. Remember, the key to a successful print is patience and attention to detail. Happy printing!