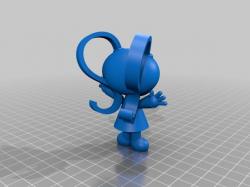
 Team Umizoomi Milli
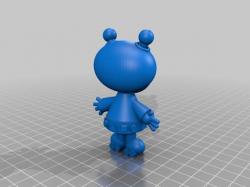 team umizoomi geo
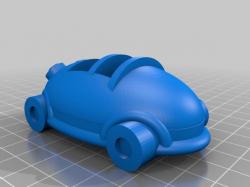 Team umizoomi car
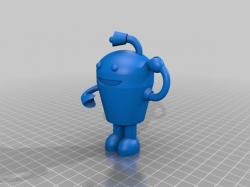 Team Umizoomi bot
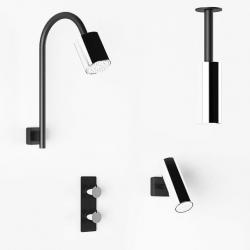 Milli Axon - Shower Arm 3D model
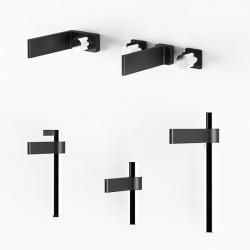 Milli Axon - Mixers - 01 3D model
Exploring “Team Umizoomi” 3D Models
“Team Umizoomi” is a popular children’s show known for its educational content and colorful characters. Among these, Milli stands out with her pattern power and mathematical abilities. 3D models of Milli, along with other characters like Geo and Bot, are available for enthusiasts to print. Websites like Thingiverse and Mito3D feature a range of “Team Umizoomi” models, including the Team Umizoomi car, Bot, and various lithophanes.
How to 3D Print “Team Umizoomi” Models
Selecting the Right Model: The first step is to choose a model you wish to print. For instance, you can find models like “Team Umizoomi Milli” on platforms such as Thingiverse. These models are often available for free and can be easily downloaded.
Preparing Your Printer: Ensure your 3D printer is calibrated and has the right type of filament. PLA is a popular choice due to its ease of use and good detail capabilities.
Slicing the Model: Use a slicing software compatible with your 3D printer. This software translates the model into a language your printer understands. Adjust settings like layer height and fill density based on the complexity of the model and the desired strength.
Printing: Once you have prepared your printer and sliced the model, begin the printing process. Monitor the initial layers for any issues.
Post-Processing: After printing, you may need to remove support structures and smooth out the surface. For characters like Milli, you can use sandpaper for smoothing and acrylic paints for coloring.
Tips for Better Results
- Layer Height: For detailed models like Milli, a smaller layer height can capture more details.
- Orientation: Print your model in an orientation that minimizes the need for supports.
- Test Prints: If new to 3D printing, start with a smaller, less complex part of the model to understand your printer’s capabilities.
Q&A on 3D Printing “Team Umizoomi” Models
Q1: Can I print Milli in different sizes? A1: Yes, you can scale the model in your slicing software to your desired size.
Q2: What filament colors should I use for Milli? A2: Milli typically features a pink dress and orange hair. Select filament colors accordingly, or print in a neutral color and paint the model.
Q3: How long does it take to print a “Team Umizoomi” model? A3: The printing time varies based on the model’s size and your printer settings. Smaller models can take a few hours, while larger or more detailed ones might take much longer.
In conclusion, 3D printing “Team Umizoomi” models like Milli offers a fun and engaging way to bring these characters to life. With the right tools and a bit of patience, you can create your own little piece of Umi City. Remember, each print is unique, and there’s always room for creativity in how you finish and paint your models. Happy printing!