 Iron Man Helmet 3D model
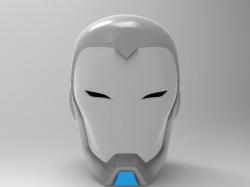 Superior Iron Man Helmet for 3D Printing 3D print model
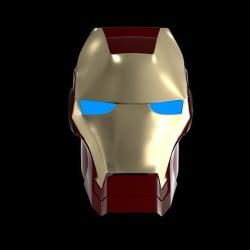 Iron Man Helmet 3D model
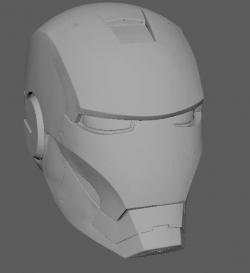 Iron man helmet 3D model
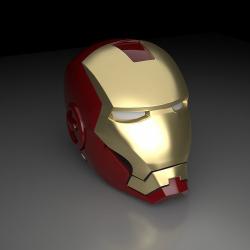 Iron Man Helmet 3D model
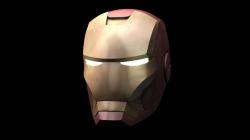 Iron Man helmet 3D model
Choosing the Right 3D Model
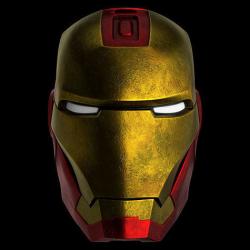
Before you start printing, the first step is to select an appropriate 3D model. There are numerous Iron Man helmet models available, each with varying levels of detail and complexity. Websites like CGTrader offer a wide range of Iron Man helmet 3D models that are ready for printing, including different versions like the Ironman Mark 85, Mark 3, and others with interior details and motorization options. These models come in various file formats and poly counts, catering to different printing capabilities and preferences.
Preparing and Printing the Model
Once you’ve chosen a model, the next step involves preparing it for printing. This process can be quite intricate, involving several key steps:
1. Splitting the Model
Larger models, like an Iron Man helmet, often need to be divided into smaller parts to fit on the 3D printer’s build plate. This can be done using software like Meshmixer. Watching tutorial videos, such as those by Frankly Built, can be immensely helpful in understanding how to effectively split helmets.
2. Positioning and Scaling
Properly positioning the model on the printer is crucial. The goal is to orient the model in a way that requires minimal support without compromising the details. Also, scaling the model to fit your head is vital. This can be done by comparing the model’s measurements with your head’s dimensions or using a 3D scanner for a more precise fit.
3. Printer Preparation and Material Selection
Ensuring your printer is in top condition is essential. The choice of material affects the durability of your helmet. PETG, ABS, or PLA+ are recommended due to their resistance to wear. Additionally, ensuring a well-leveled and clean printer bed is crucial for large models like the Iron Man helmet.
4. Slicer Settings
Adjusting slicer settings is key for a successful print. Important settings include print speed, layer height, infill density, and pattern. These settings balance the need for speed, material efficiency, and structural integrity. For instance, a gyroid infill pattern offers a good strength-to-weight ratio.
Q&A About 3D Printing Iron Man Helmets
How do I choose the right model for my 3D printer?
Select a model based on your printer’s capabilities and the level of detail you desire. Consider the helmet’s size, complexity, and required supports.
What materials are best for printing an Iron Man helmet?
Materials like PETG, ABS, or PLA+ are recommended due to their durability and resistance to wear, which is important for wearable models.
How can I ensure the helmet fits me properly?
Use a 3D scanner to get an accurate measurement of your head and adjust the model accordingly. Alternatively, manually measure the widest part of your head and compare it to the model dimensions.
What are the key slicer settings for printing an Iron Man helmet?
Focus on print speed, layer height, infill density, and pattern. A balance between speed, material usage, and strength is crucial for such a large and detailed print.
Remember, 3D printing an Iron Man helmet requires patience, precision, and a bit of creativity. With the right model, careful preparation, and attention to detail, you can bring a piece of the Marvel universe to life. Whether for cosplay, display, or just for the love of making, it’s a project that promises both challenge and reward.